

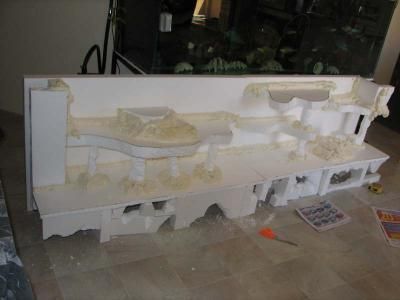
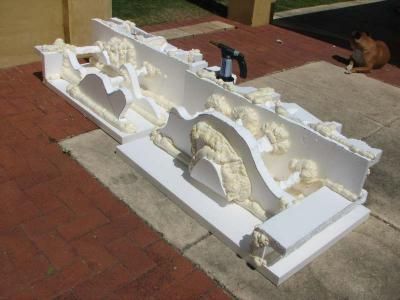
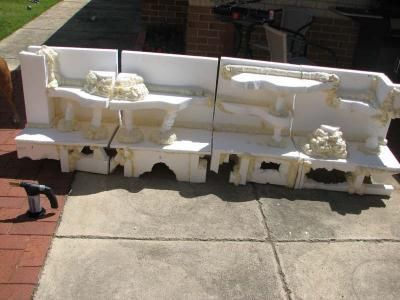
Now this is where it all starts coming together. You will need to grab one of your cans of spray foam and start joining everything together. Do everywhere.top,underneath down the joins and seams everywhere. It will look fairly ugly and you will think that you have taken a step backwards or done something wrong. Dont worry about it because the cement stage pulls everything together. As you can see in some images, I had foam drip by accident onto the piece. Just let it as they just look like small rocks when the concrete goes on. In fact I added small blobs onto the back and base just to add more texture.
This is where I found my mistake that the two halves did not fit. I had to get an old bread knife,heat it on the BBQ and cut it so that I had quarters. It was a silly mistake caused from too many bevvies in the planning stage 
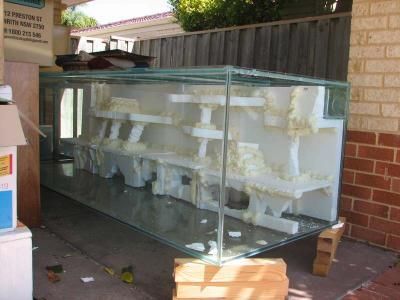
Anyway before I got onto the burning stage I cut and test fit into my tank to check for the final fit
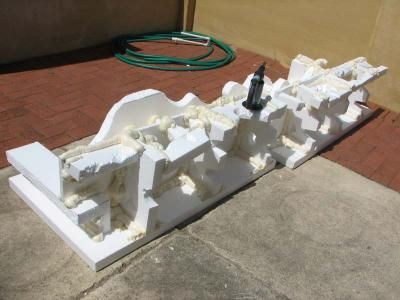
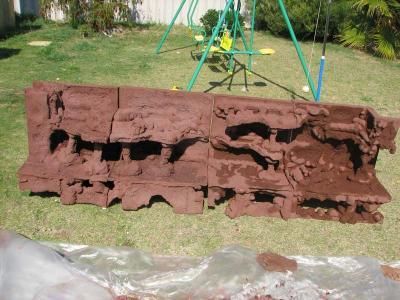
After the fit comes the burn..
I had 50mm foam so I had a bit to play with. If you have thinner foam, a little caution is needed as it melts quickly. Dont be shy though and burn in indentations etc. The ledges will shrink and twist a little and by the time you have finished the background looks considerably different to the perfection you had initially built. Again dont worry too much. In fact I burnt a few holes on the top of the base. I consider these a benefit as now my fish will not only be able to swim between the caves but also up through them as well. Just dont make the holes too big and you also dont want to burn any holes in the actual backing. Definitely dont want to see the back of the tank.

Now that is done, its time for the final cementing. This is the most time consuming though I guess for a smaller tank its not so bad.
Just on a note about the concrete mixing for anyone interested. I mixed a 4 to 1 ratio of sand(4) and cement (1),mixed in the binder/sealer into the water and made a fairly sloppy mix but not too thin as to make it watery.
The binder is not needed if you dont want too and in fact I dont know if there will be any repercussions yet.
You can also put in a few drops of dish washing liquid into the mix. This will help make a more creamy mixture like a render.
There is no set way to apply the cement though a little playing around will soon show what you like. I stippled all my coats and this gave quite a textured finish. Brushing it on will give a smoother finish.

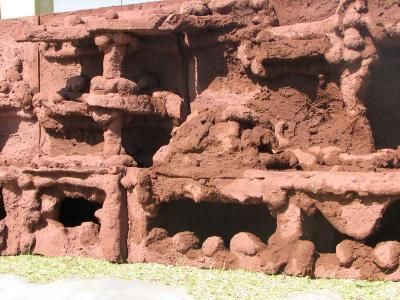
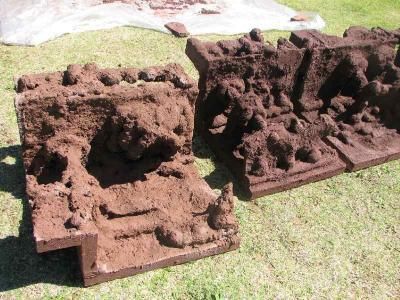
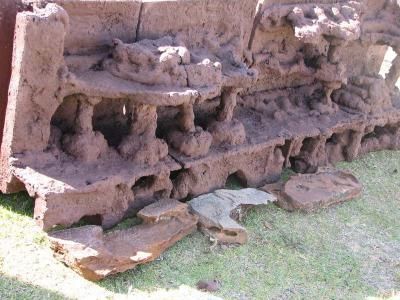
I put on three coats of cement all up leaving half a day to dry between coats. The second coat I lightened the colour somewhat to hopefully resemble more closely the Woomera red rock that will be used forward of the background. You may tint up your cement lighter or darker if you want to add shadows and features but personally after viewing other peoples I dont think it makes much difference after the establishment of algae etc but hey its your creation, do as you will
The toned up colour
And a final shot with the Woomera rock that I will use..
also just on a final note that the back of the background facing the glass is not cemented or sealed. I hope that you guys are not daunted by this if you are interested. It really is extremely simple and a background the size of mine only takes a couple of days at most. Id like to see other peoples as its a bit of fun and takes away some of the seriousness that can sometimes consume the hobby.
and just quickly on Price. the foam cost me around 100 dollars though I had half a sheet left over and the materials cost maybe around 150 dollars. All up around 250 bucks for a fairly kick butt background and a bit of fun making it.
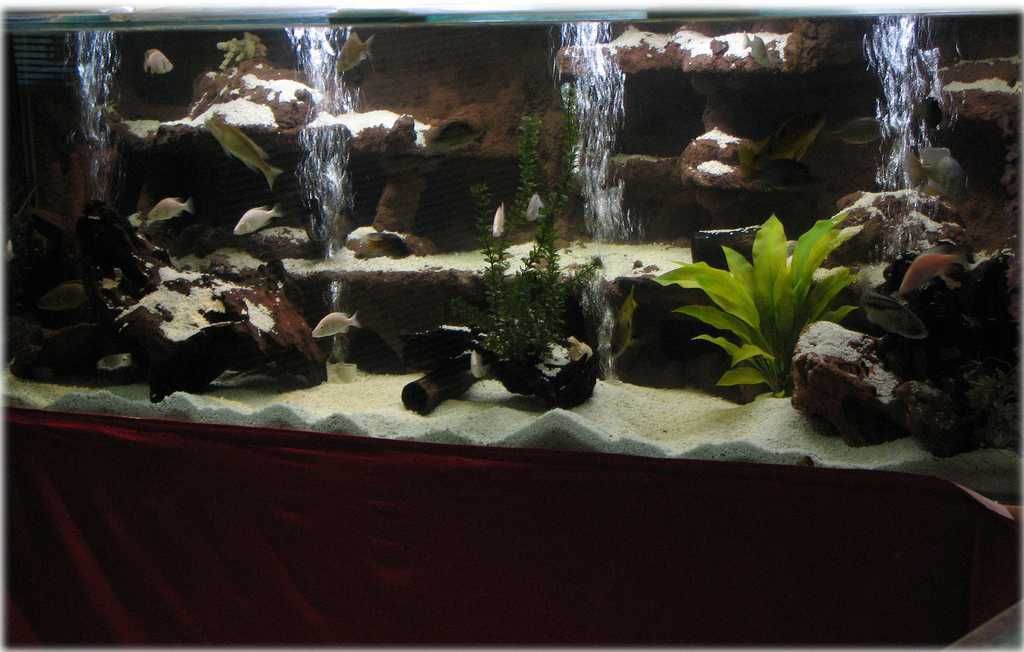
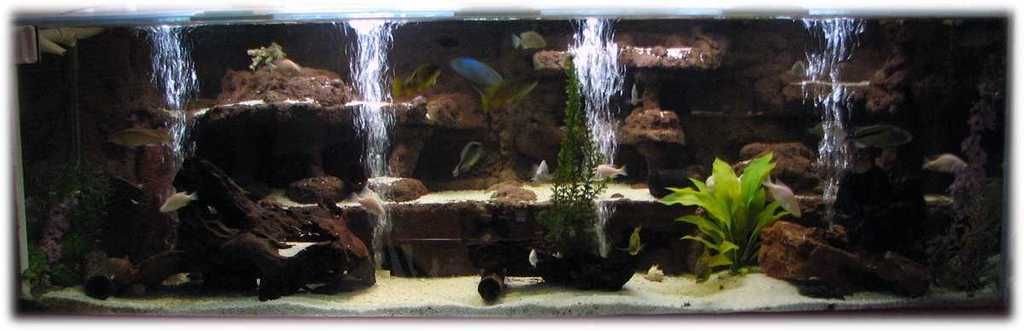
and to wrap up...some finished shots. these are not current though I still have the tank and background.

Chuck
-
 2
2

Recommended Comments
There are no comments to display.
Join the conversation
You can post now and register later. If you have an account, sign in now to post with your account.