This is an old DIY project that I thought I'd repost here. Hopefully it may inspire a few people to have a play with their aquariums.
Id been mulling over my background on my 8*3*2.5. I couldnt find any paper backgrounds that were 2.5 foot tall and really I wanted to do something special with this tank.
These backgrounds are really easy to make and Id recommend anyone that likes to tinkle with things to give it a shot. There are many different ways to do a background ranging from flat if you are limited by space to something like I have done below.
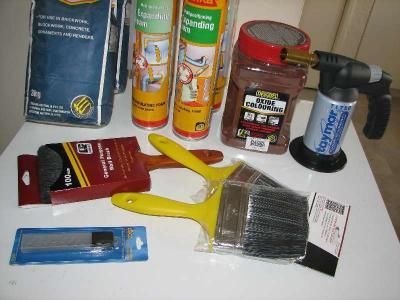
First you will need a few bits and pieces to get you going..
You will need some cement, expanding spray foam, some cement colouring, in this case red oxide, a couple of nice thick, stiff brushes, some blades,lots of toothpicks and a butane torch to give the textured effect on the foam. In the case of the brushes I found it hard to find something that was stiff enough to brush on the cement. In this case you can just cut the bristles of the brush shorter to stiffen it up a little.
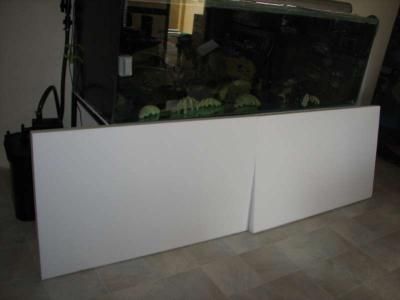
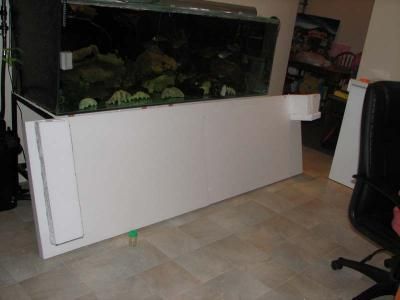
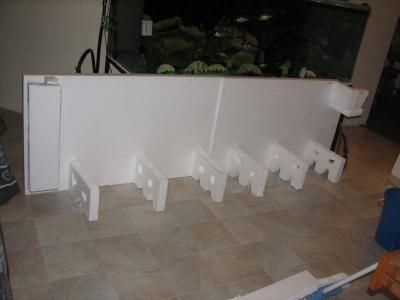
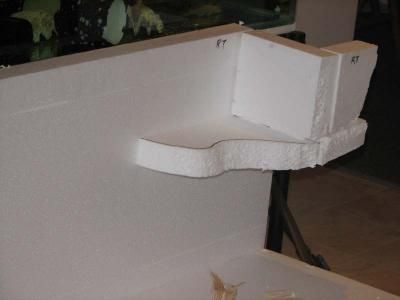
You will also need some foam. I bought 2 sheets of 8*4, 50mm thick items. I had the foam shop cut a sheet into a 8*3 sheet to fit my tank and then into halves to give me 2* 4*3 pieces. You will have to use your judgement as to the correct sizes as I made mine in halves and it didnt fit. I then had to hotknife it into 4 pieces to fit so make sure you have the dimensions properly measured So after I had the backing cut I had a whole sheet (the uncut piece) and what was left over from the backing. I will state now though that I was left with a 4*4 piece (or half a sheet) left over. First I started by hiding my plumbing. In this case the overflow box (top right) and the return (left side) that will be my Jet system that will be installed.
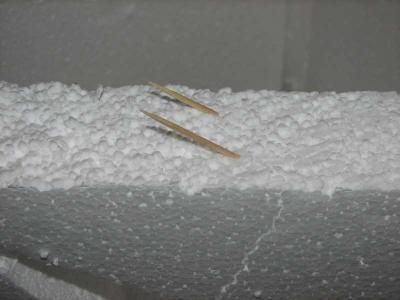
Now the trick to attaching the foam to your background are toothpicks. Just place your foam where you would like it to be attached and hold in place by stabbing the toothpicks through at 45 degree angles. I used lots as the more you stab through the firmer it will stay in place.
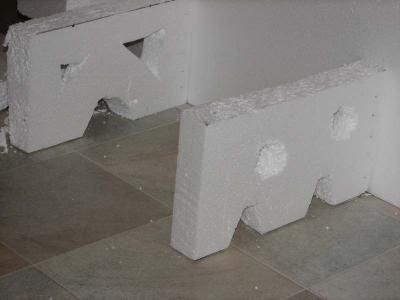
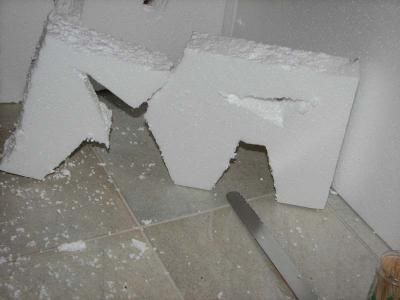
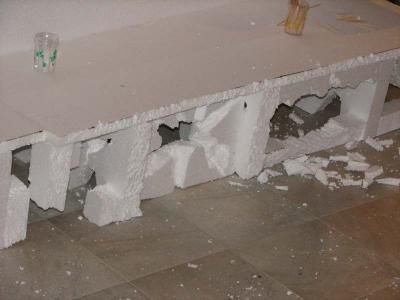
I then started on the cave system and base of the background. Remember to cut holes in the supports as this will allow water flow through and prevent dead spots. It will also allow your fish to frolic between caves
If you break anything, no worries just pin it together and you can spray a little foam over it later to join it again. This and the cement you will coat it with will be ample.
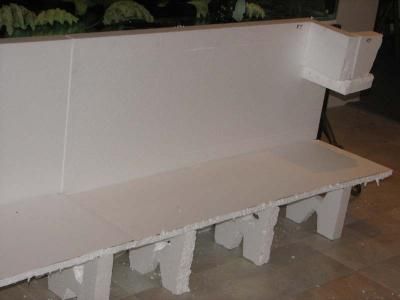
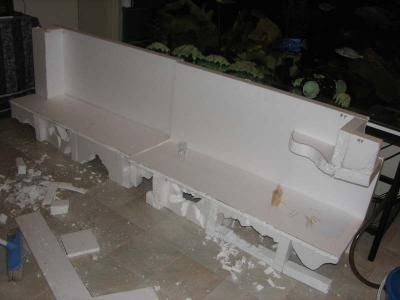
This is how it looks with the bracing and top of the base on note - everything is pinned on
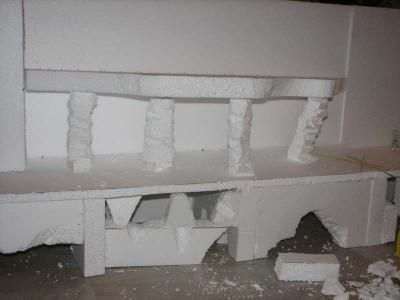
Then I made what will be my caves on the bottom of the structure. Most of this was scrap left over. To this stage I was still on the single sheet first sheet of styro. This includes the 700mm sheets on the back, so the 500mm left over basically got me here. It was then time to put on a few ledges..
Remember that it doesnt have to look too pretty as youll see later in the article.after the burn I then put in some ledges and overhangs
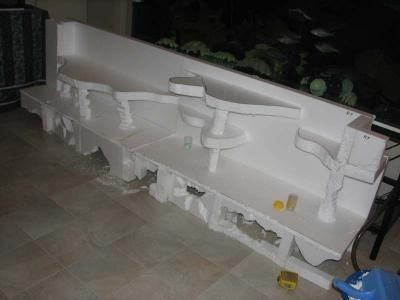
and this is a shot at the end of the night of the complete backing, stuck together well with several hundred toothpicks
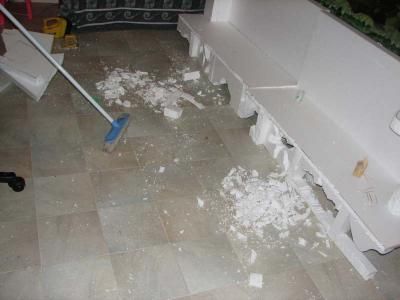
Id also like to note that this produces lots of styro mess. This is after about 3 buckets of foam swept up so if you do this inside like I did make sure you have a patient partner Like I luckily do (sometimes)


Recommended Comments
There are no comments to display.
Join the conversation
You can post now and register later. If you have an account, sign in now to post with your account.